My Travel Altar-
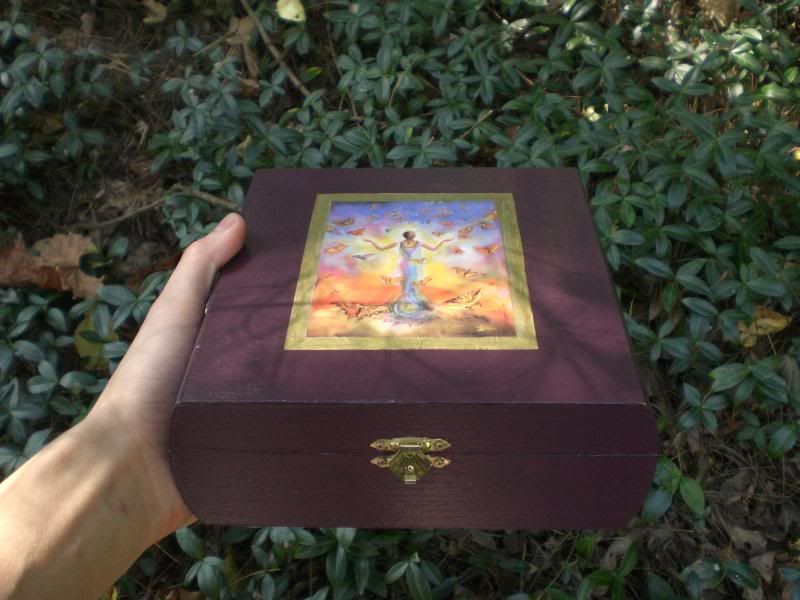
I created this altar so that I could take it with me on my vacation to Mexico. I am going away to an all inclusive spa for a week of pampering, No toddler, No husband, No worries. I am using this time for renewal and wanted to be able to at least have my candles and incense with me. I purchased the unfinished wooden box from the craft store Michaels for $3.99. They had several styles that are suitable for altars. I decided to keep it simple decorating this one since I had limited time to get it ready, I have used only materials I already had left over from other projects. I have plans for a more elaborate box later.
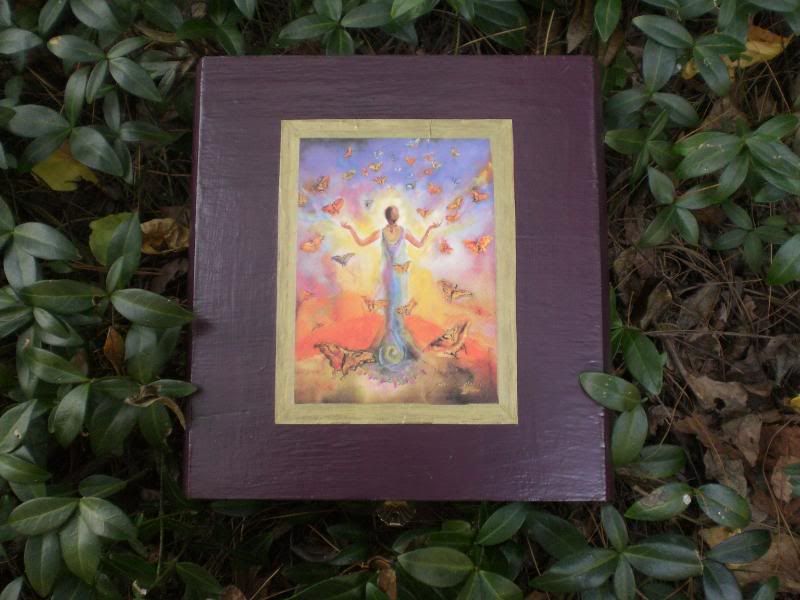
1. I painted the entire box inside and out with Accent Base Coat Colors water based matte finish acrylic paint in Plum. Apply two coats and let dry between coats.
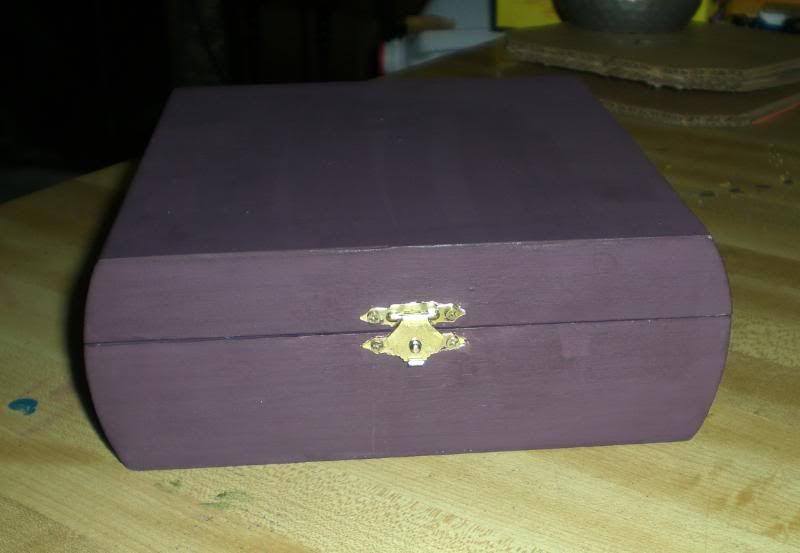
2. I used a very fine grit sandpaper to lightly sand the surface and wiped it with a clean cloth. Apply final Coat of paint and allow to dry overnite. NOTE: Next time I would sand the unfinished box before painting as well.
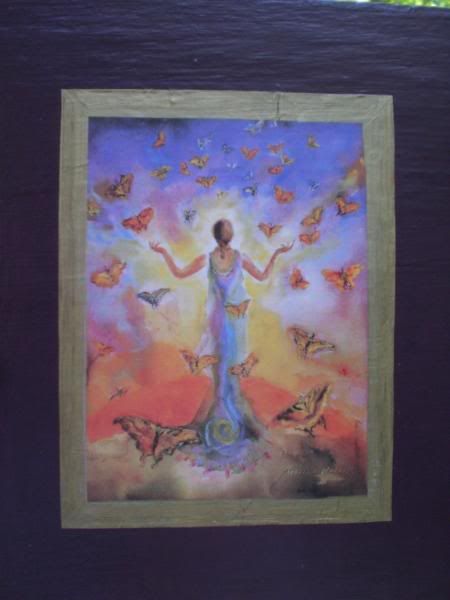
3. I cut a picture out of a magazine and used a Gold metallic marker to make a frame around the picture and added a gold dot to each of the butterflies. I also made some gold embellishments to the dress.
4. I used Mod-Podge to apply the cutout to the box. I applied a very thin layer to the box and very carefully placed the cutout into position and smoothed it out. I then applied a layer over the entire surface of the top, covering the cutout evenly. NOTE: Next time I would allow the mod-podge to dry after placing the cutout before applying the coat over top of the cutout. This made the cutout too wet and it warped and had bubbles underneath it. I waited till the top part was barely dry and gently pressed down the bubbles with my fingers, the glue underneath was still damp and it stuck down nicely with a few small wrinkles. So much for perfection, but it still turned out rather nicely.
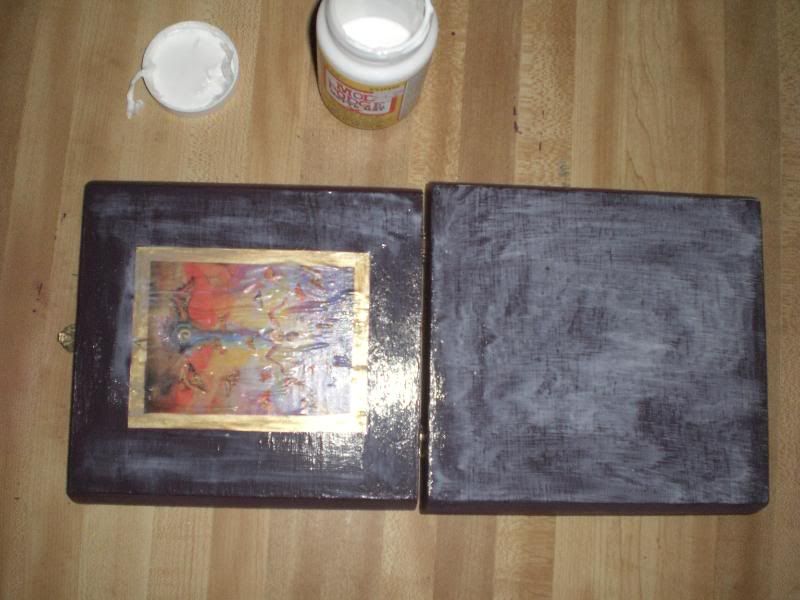
5. Apply mod-Podge to the entire surface of the box to seal it and make it shiny. I used two thicker coats for protection in travel. I did not seal the inside yet as I will be decorating the inside later.

Overall I am pleased with the results, I think It will serve me well on my trip. Since this box was created to travel with me out of the country (and in a group) I wanted to be sure it was subtle enough that it would not raise any eyebrows, beautiful enough to be worthy of my Lord and Lady, and practical enough to use anywhere.
Total Cost: $4.06
CREDIT: The artwork I cut out for this project is a painting called Anything Is Possible by Melissa Harris.
Well? What do you think? Think you can make one? Come on you can do it, show me your ideas.
1 comment:
Very good idea! I'm going to make my personal travel altar box. I'll show you whan it'll be made :-)
Post a Comment