Showing posts with label wicca. Show all posts

Tuesday, January 8, 2008

Spell Candle Jars - Psychic Recycling

I'm sure you've seen candles in a jar, you can get them practically anywhere. Well, I like to use them for some of my spells and rituals, I generally prefer smaller candles, but sometimes use the larger ones for extended rituals. There are several reasons I like the jar-candles

* I feel that the jars can help to "contain" more of the energy of the candle for you to direct.
* You can choose from a variety of scents and colors to suit your specific needs
* Some of them will burn for a LONG time in support of your ritual (never leave burning unattended)

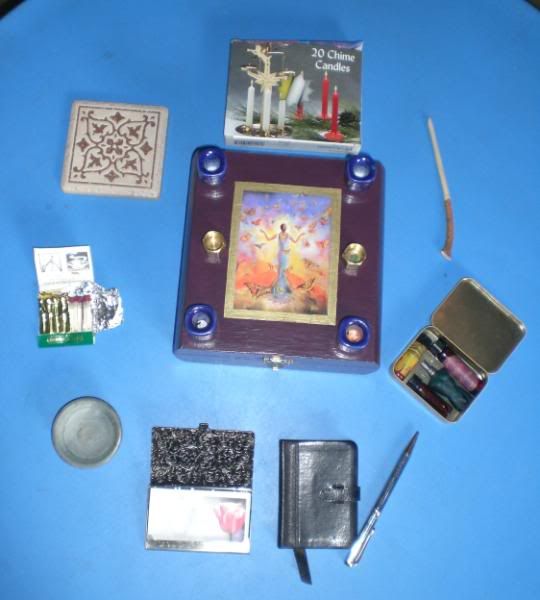
Magickal Boosters for jar candles

* Before you light it, charge it with a drop of oil, rub the oil over the entire surface of the wax.
* You can press tiny crystals or gemstone chips into the wax before lighting (not to close to the wick)
*You can add a pinch of very finely powdered incence to the melted wax after its extinguished, resins work well(frank,myrrh,dragonsblood,amber). Please use common sense here, and keep away from the wick. Sometimes I press a small bead of resin into the wax.
*I like to write my intent on paper and fold it into quarters and put it under the jar

When the candle is burned out or you've finished with it you can "recycle" it into a spell jar.

To do this, after extinguishing it for the last time, I like to add some of the herbs I used for the spell, the ashes of the incense burned during the ritual,as well as the salt or sand used in the ritual. Sometimes I'll add some of the flowers on the altar. Basicly anything that I used for the spell that won't be reused. Finally I add the parchment with my intent and seal the jar. Keep the jar until you get your result. I never open the jar once it's sealed. I prefer to keep the jar on my altar for a while or else I hide it in a dark spot.
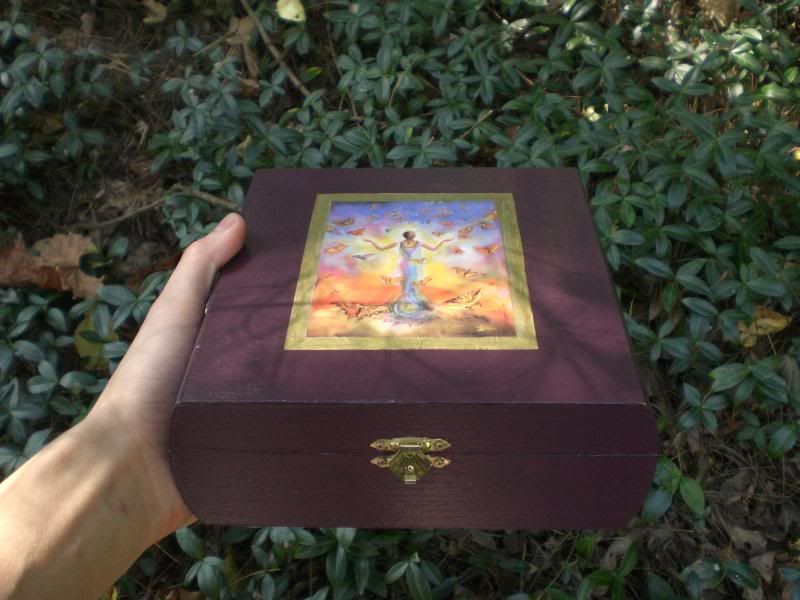
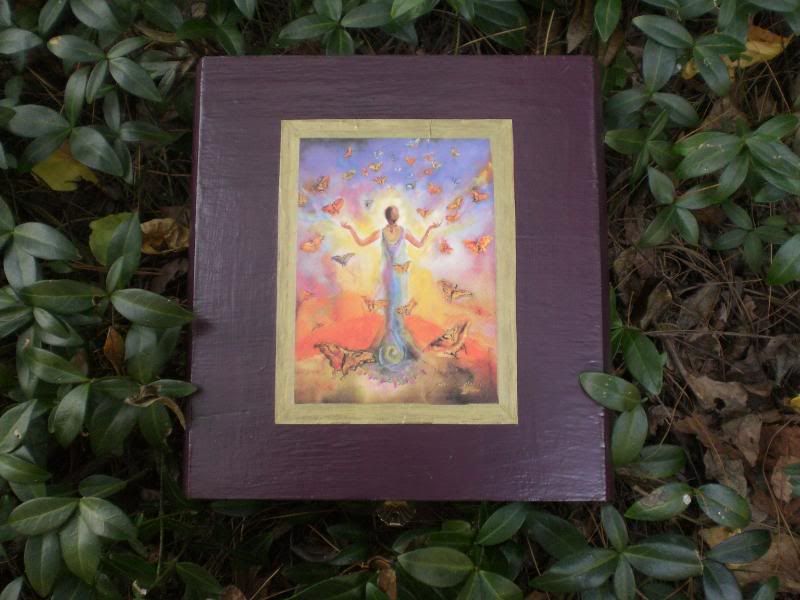
Two Hands Holding a Jar of Stars


McCormack, Daphne

Buy at AllPosters.com

Monday, January 7, 2008

How to make your own Magick Wand

1. Collect a suitable branch. Pick one that you like the most. Some people choose the wood very carefully for its special meaning or properties. Some people used wood from floor some people use live wood and ask tree if its ok.

2. Cut the wand to a suitable size. Cut the wand to a length that reaches from your middle finger to your elbow. The wand can be cut to any size you wish. I find around 14/16 inches good to start.

3. Scrape all the bark off it. Using sharp knife remove bark, depending on the type of bark a potato peeler works great too.

4. Drying - I normally dry mine in window in sunshine with some herbs. Normally I leave in window for 3 days. The branch can still be 'bent' into shape when drying if you require less or more straightness.

5. Now it dry its ready to whittle into shape.
Using sharp knife cut away most of the wood not needed. Also nows good time to drill small hole though wood if you want to add ribbons etc.

6. Now using no.60 sandpaper smooth down into shape you like.
going down length of wood rub away with course sandpaper to get it close to desired shape.

7. Finish off with no.150 sandpaper - for smooth finish.

This wand is complete as far as adding your personal things.

Decoration is only limited by what your imagination can think. So many options here. If you like it add it.
I use runes
pentagrams
symbols
ribbons (Various colors)
Even little bells from craft shop work really well

After you finished your wand - I use bees wax to rub into it and protect it somewhat.

Wednesday, September 26, 2007

Stocking My Travel Altar

Now that I have my altar box, I can begin to put together the essentials I’ll want to take on my trip. Keeping with my desire to use only what I have on hand I’ve scrounged around the house to come up with the following:

Photo Sharing and Video Hosting at Photobucket

Candles- It will hold an entire box of 20 chime candles although I don’t think I’ll need that many on this trip it’s good to know it will fit. Chime candles are my preferred meditation candles as they burn in one evening so I’ll need one candle for each night of my trip. I will charge and bless them ahead of time. I use the mini ceramic candle holders for these but I didn’t want to travel with anything breakable so I found two brass thingies in the garage that were some kind of plumbing part. They work great and look pretty decent too.

Incense- This box won’t hold the stick incense that I prefer to use but that’s ok, I think that would be too much in a small single room so my next thought was cones, but they can be a bit much too, I was about to give up on the incense when I came across a pack of incense matches that I’d bought years ago to burn in my jeep after hauling stinky wet dogs. This is a new pack of frankensence- perfect! I can use the match to light my candle then blow it out and have a bit of incense. Now I won’t need to take a lighter.

Chalice or Cup- No luck here- I’ve tons of shot glasses but they don’t feel right. Can’t find anything small enough. Any Ideas? Ooh Update: I found a tiny stone bowl that went with an oil diffuser, the other part broke but I kept the bowl just in case.

Sword or Athame- A pretty silver pen and my husbands old silver dress pocketknife (which he gave me permission to use) I won’t be taking the pocket knife on this trip (airline security) so I thought the pen would represent the sword. Plus now I have a pen to write with.
Photo Sharing and Video Hosting at PhotobucketPhoto Sharing and Video Hosting at Photobucket


Wand- I made a tiny willow fingertip wand that is too cute. At first it seemed silly but I had all these extra willow sticks I had collected at the park to make my full size wand with and one of them was very thin (too thin for a full sized wand) so I shortened it. I don’t think I’ll take it with me on this trip since it could be construed as a weapon by airline security as it is a pointed stick. (don’t laugh I’ve heard of more ridiculous things)
Photo Sharing and Video Hosting at PhotobucketPhoto Sharing and Video Hosting at PhotobucketPhoto Sharing and Video Hosting at Photobucket


Tile or Censer- My one purchased Item. I bought a pretty 4” ceramic tile to burn incense, etc. on. I got it at home depot for $6.50

Journal- To go with my pen and record any observations. I have this tiny leather journal that I’ve kept for years that I write any inspirational quotes, poems, chants, affirmations, prayers, etc. It’s like a mini BOS in a way, and plenty of room for more as I travel.

Spell Paper- I found some blank print your own business cards with pretty flowers on them. I also had a pretty silver business card case to hold them. I will fill out a few of them ahead of time as meditation prompt cards or affirmation cards and such. And hey, I've already got a pen.

Photo Sharing and Video Hosting at PhotobucketPhoto Sharing and Video Hosting at PhotobucketPhoto Sharing and Video Hosting at Photobucket

Make Your Own Travel Altar Box.

My Travel Altar-

Photo Sharing and Video Hosting at Photobucket

I created this altar so that I could take it with me on my vacation to Mexico. I am going away to an all inclusive spa for a week of pampering, No toddler, No husband, No worries. I am using this time for renewal and wanted to be able to at least have my candles and incense with me. I purchased the unfinished wooden box from the craft store Michaels for $3.99. They had several styles that are suitable for altars. I decided to keep it simple decorating this one since I had limited time to get it ready, I have used only materials I already had left over from other projects. I have plans for a more elaborate box later.

1. I painted the entire box inside and out with Accent Base Coat Colors water based matte finish acrylic paint in Plum. Apply two coats and let dry between coats.

Photo Sharing and Video Hosting at Photobucket

2. I used a very fine grit sandpaper to lightly sand the surface and wiped it with a clean cloth. Apply final Coat of paint and allow to dry overnite. NOTE: Next time I would sand the unfinished box before painting as well.

3. I cut a picture out of a magazine and used a Gold metallic marker to make a frame around the picture and added a gold dot to each of the butterflies. I also made some gold embellishments to the dress.

Photo Sharing and Video Hosting at Photobucket

4. I used Mod-Podge to apply the cutout to the box. I applied a very thin layer to the box and very carefully placed the cutout into position and smoothed it out. I then applied a layer over the entire surface of the top, covering the cutout evenly. NOTE: Next time I would allow the mod-podge to dry after placing the cutout before applying the coat over top of the cutout. This made the cutout too wet and it warped and had bubbles underneath it. I waited till the top part was barely dry and gently pressed down the bubbles with my fingers, the glue underneath was still damp and it stuck down nicely with a few small wrinkles. So much for perfection, but it still turned out rather nicely.
Photo Sharing and Video Hosting at Photobucket

5. Apply mod-Podge to the entire surface of the box to seal it and make it shiny. I used two thicker coats for protection in travel. I did not seal the inside yet as I will be decorating the inside later.

Photo Sharing and Video Hosting at Photobucket


Overall I am pleased with the results, I think It will serve me well on my trip. Since this box was created to travel with me out of the country (and in a group) I wanted to be sure it was subtle enough that it would not raise any eyebrows, beautiful enough to be worthy of my Lord and Lady, and practical enough to use anywhere.
Photo Sharing and Video Hosting at Photobucket

Total Cost: $4.06

CREDIT: The artwork I cut out for this project is a painting called Anything Is Possible by Melissa Harris.

Well? What do you think? Think you can make one? Come on you can do it, show me your ideas.

Monday, September 24, 2007

Welcome to Crafting the Path

The Path I'm referring to is our path through life, the spiritual path if you will, specifically, my path. Follow along as I explore pagan, heathen and shamanic spirituality practices and all of the arts and crafts projects I create along the way.